I’ve always had a love for old cars, and among the many vintage vehicles that have captured my heart, the woodie, with its timeless charm holds a special place. My journey into the world of woodies began in 1960 when I purchased a 1947 Ford woodie with all my savings of $75. At the time it was the only car that I could afford, but little did I know that this modest purchase would ignite a lifelong passion, and set me on the path to own many woodies. The first was the 1947 Ford, then a 1948 Buick Roadmaster Estate, then a 1936 Ford, these were all original. Next was a 1940 Ford Deluxe then a 1951 Ford Country Squire, and finally a 1955 Ford Ranch Wagon. These were all modified.
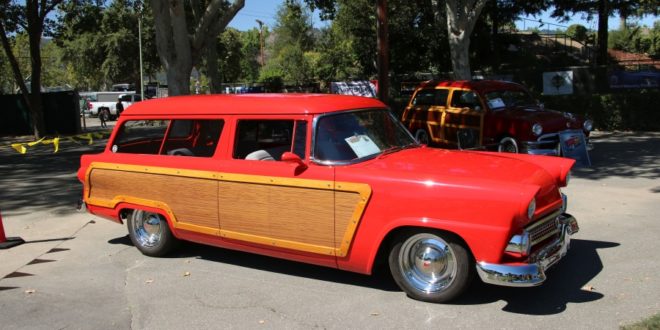
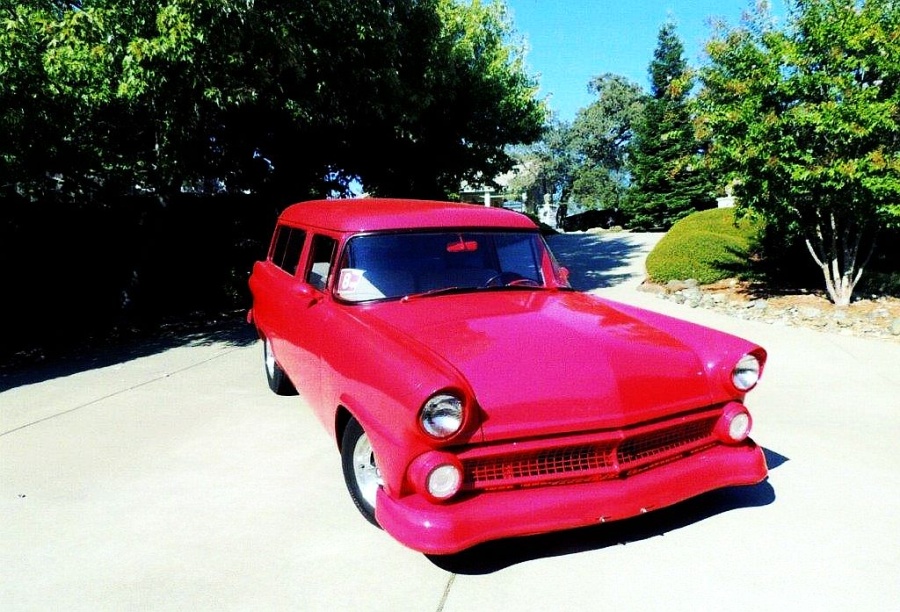
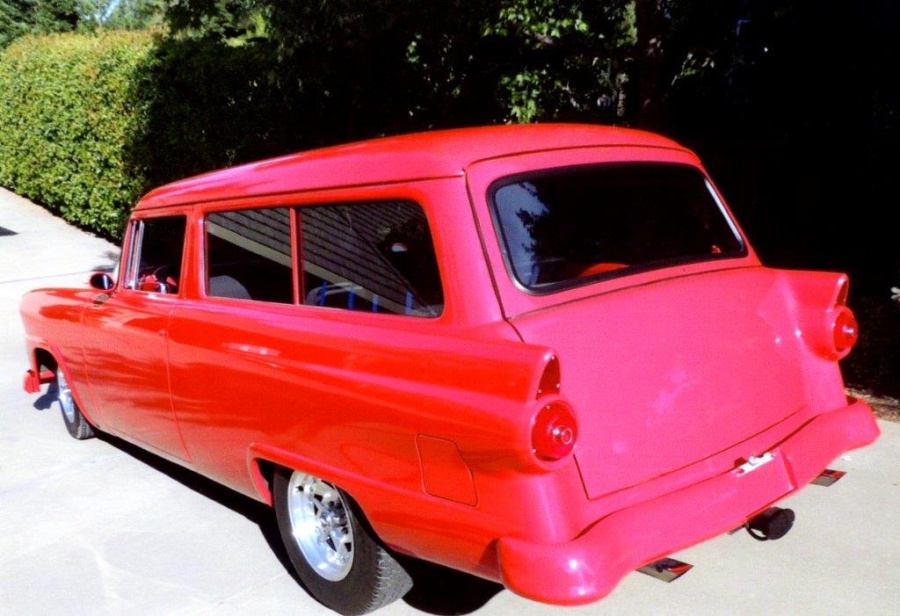
The 1951 Country Squire with it’s two door design, marked the end of an era. In 1952 the Country Squire was transformed into a four-door model adored with real wood, while the two-door Ranch Wagon had no wood. My enduring love for woodies led me on a journey to transform a 1955 Ranch Wagon into a 1952 Country Squire lookalike.
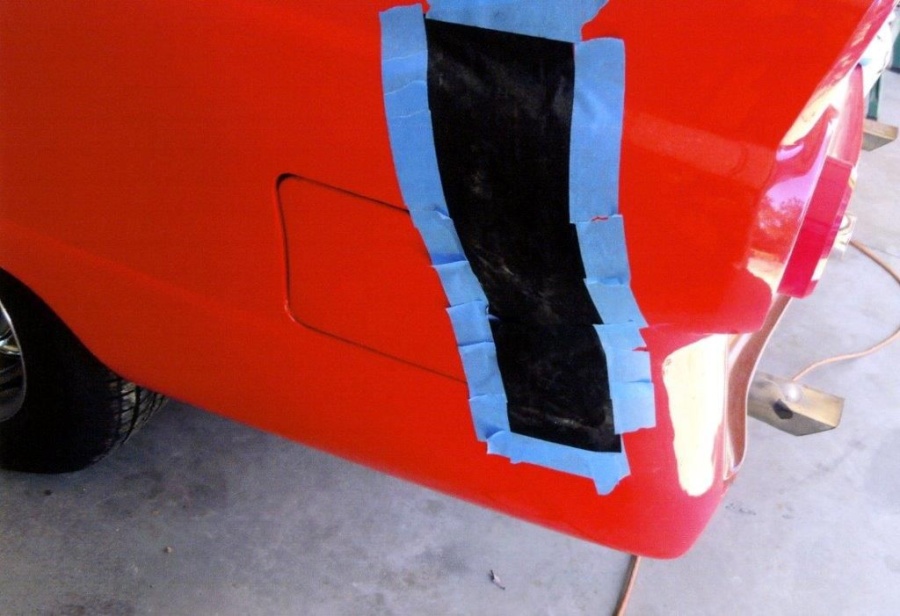
The first step was finding the right canvas for my project. I was fortunate to come across a restored 1955 Ranch Wagon, with a 302 motor, C4 transmission, and an 8 inch rear end. The best part was that all of the trim had been removed and the holes filled in, making my task a bit easier.
The first challenge was to design how the wood would go on the car.
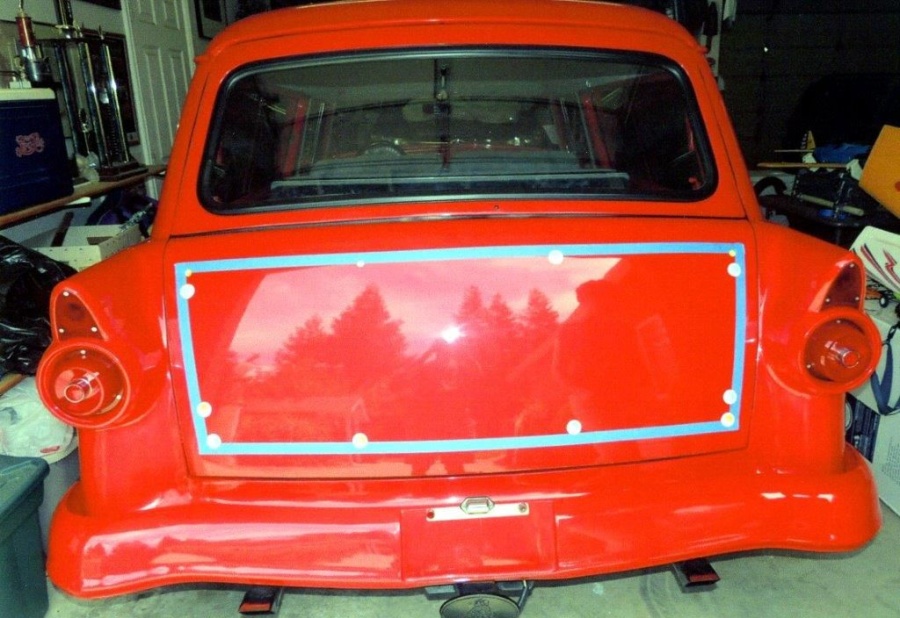
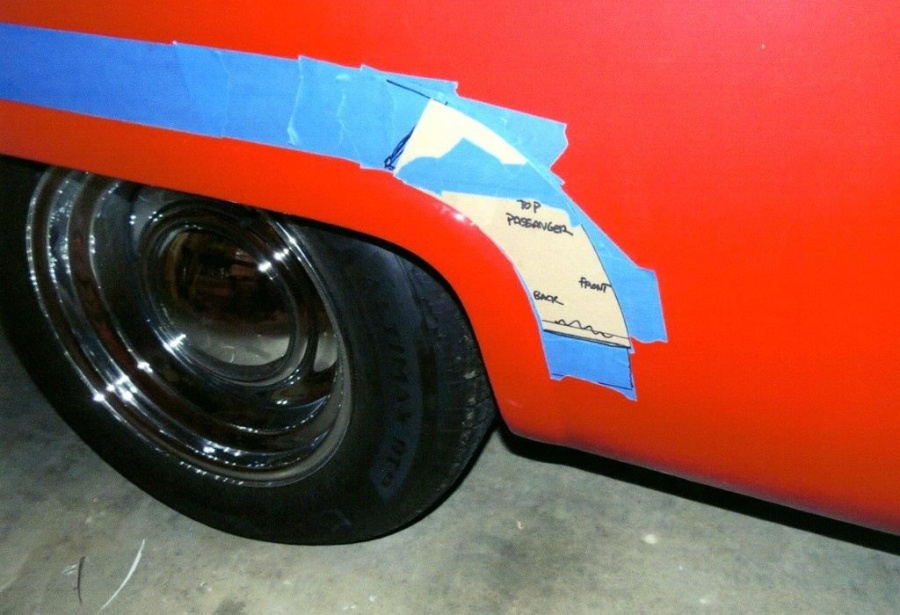
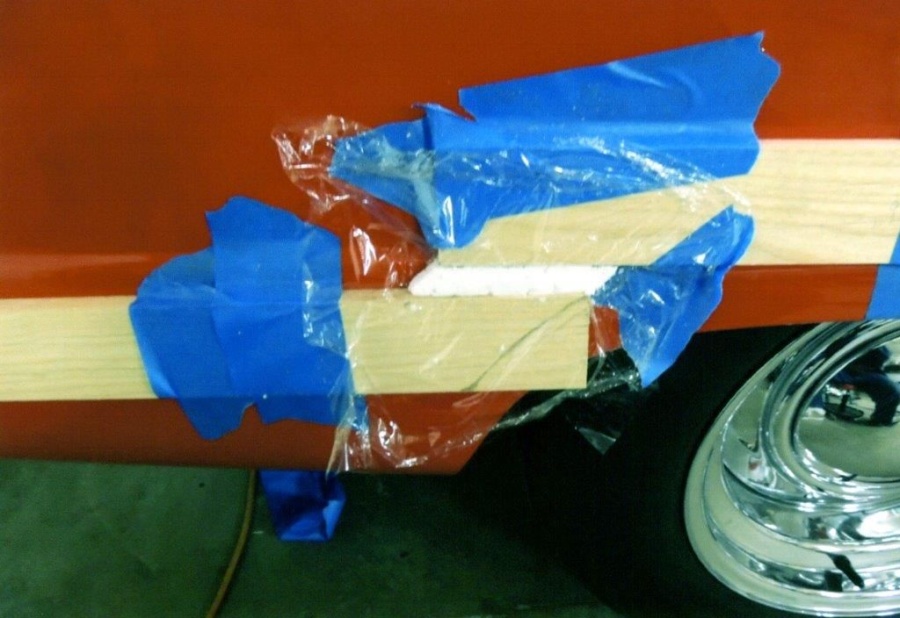
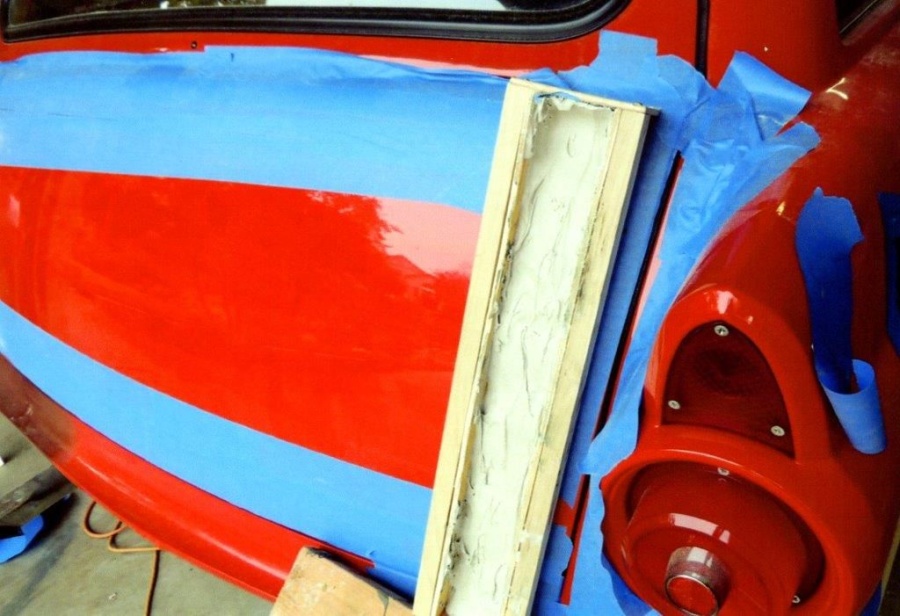
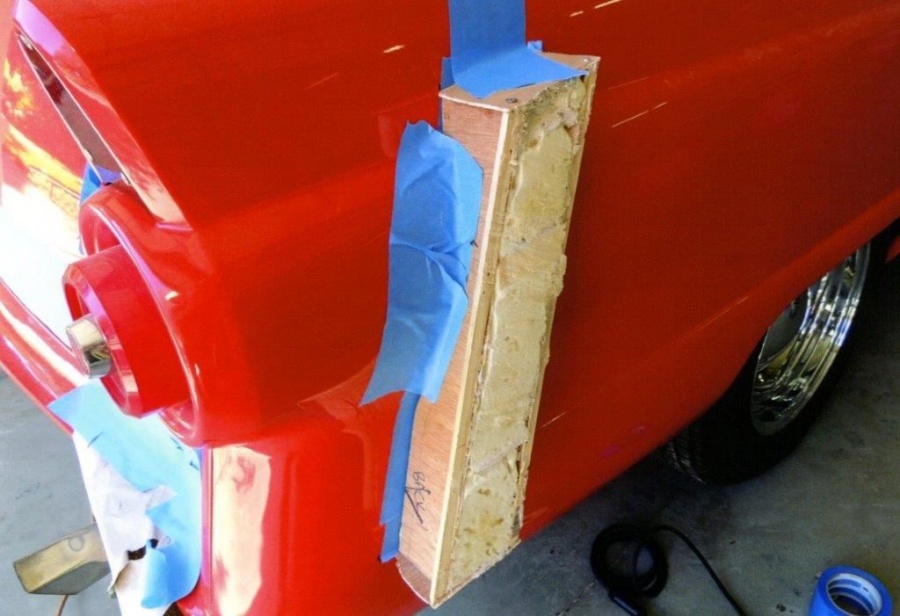
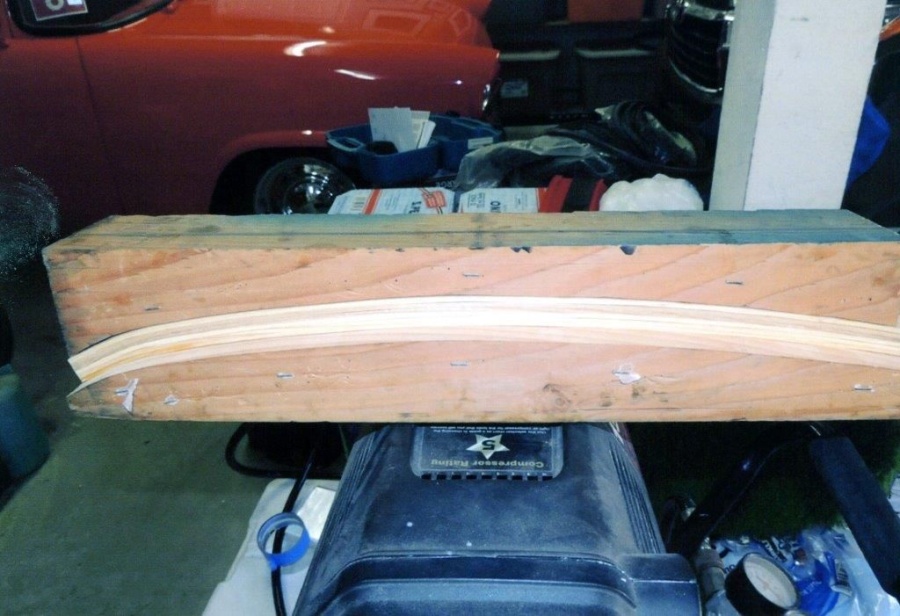
I began by creating an impression of the car where the wood would go. I made a box form out of cardboard that I used as a template to make a form out of plywood. I covered the paint with masking tape and then taped the form to the car. The form was then filled with Bondo.
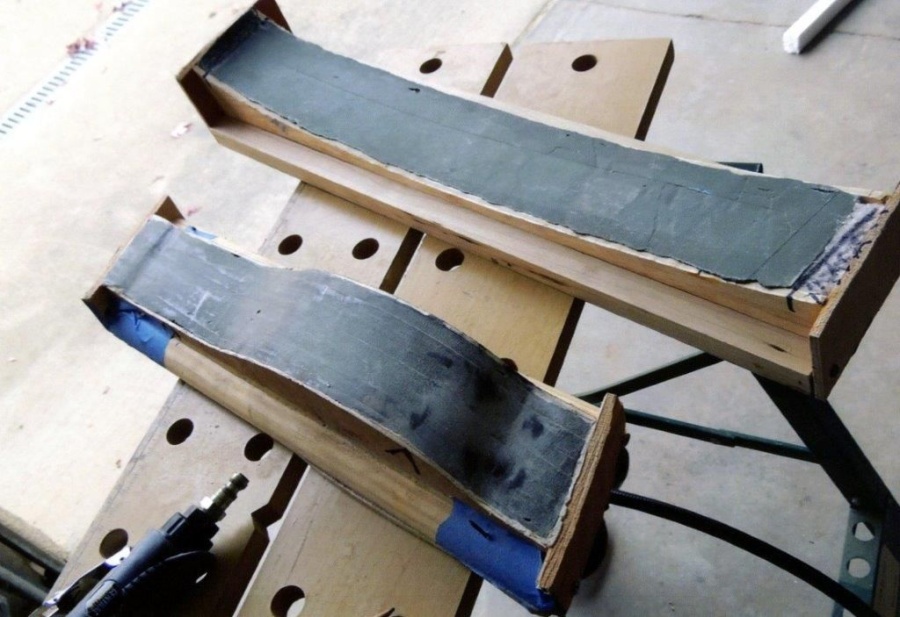
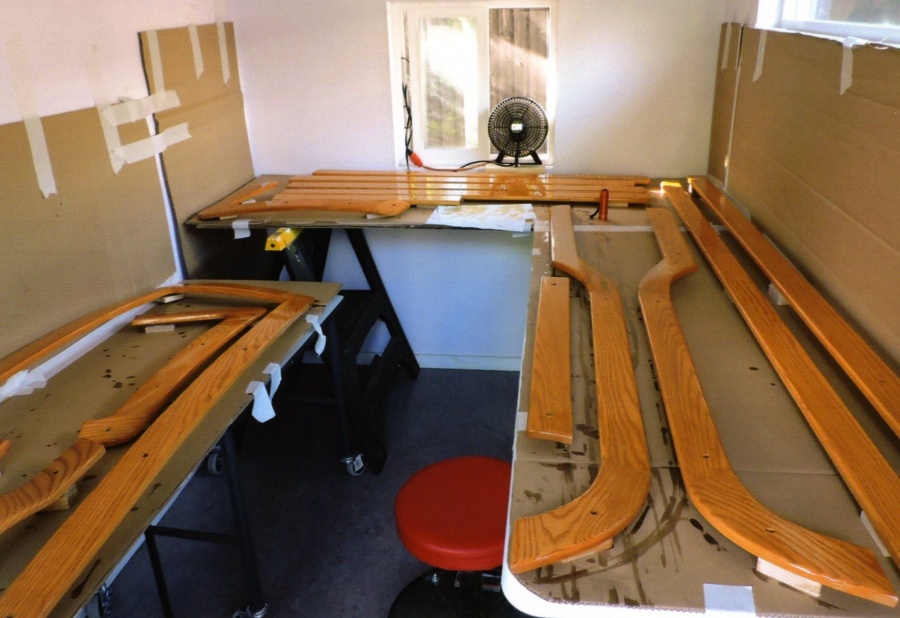
I used the negative impressions to make a positive mold. I then enlisted the help of a talented craftsman, Mike Williams, who used my molds to cut and bend the wood.
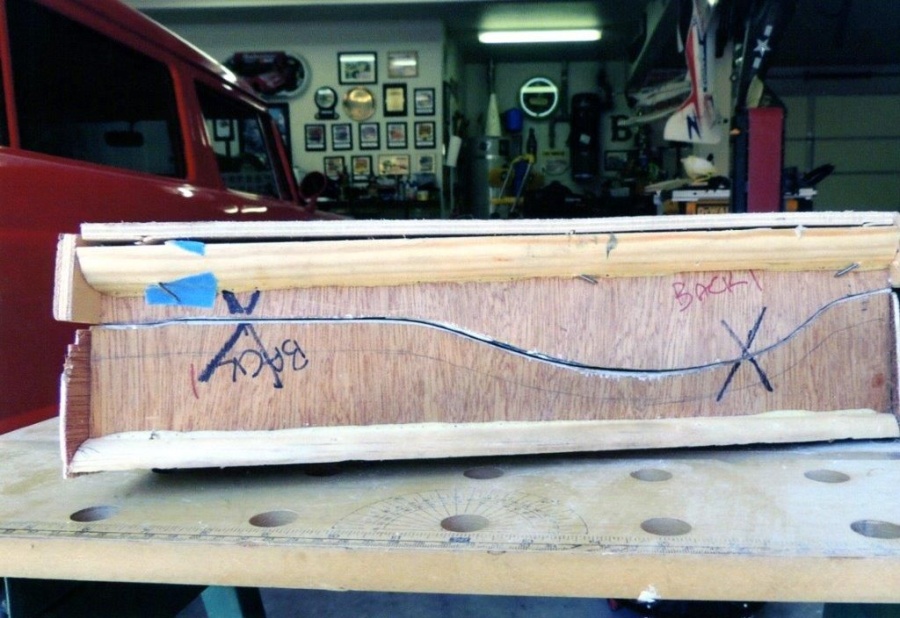
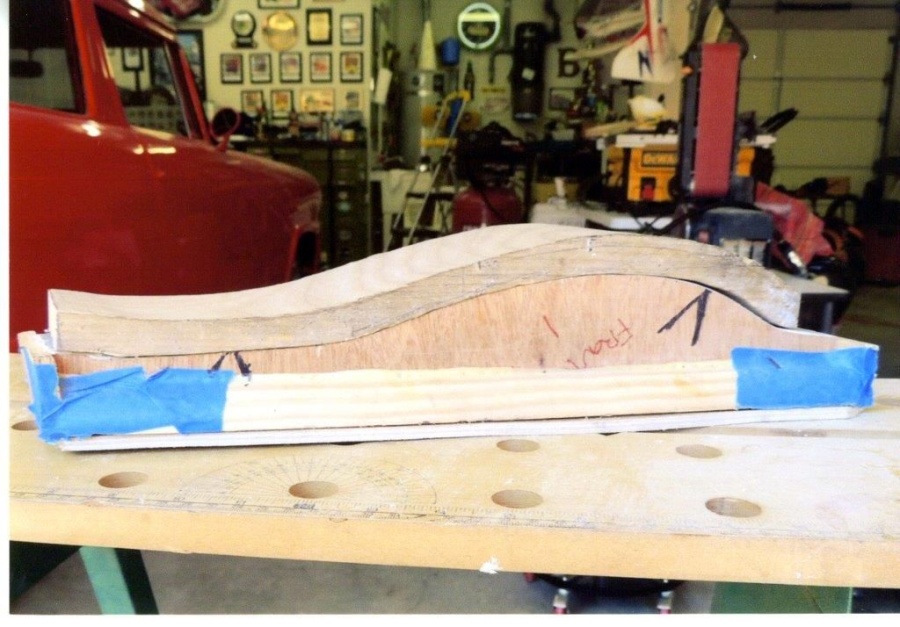
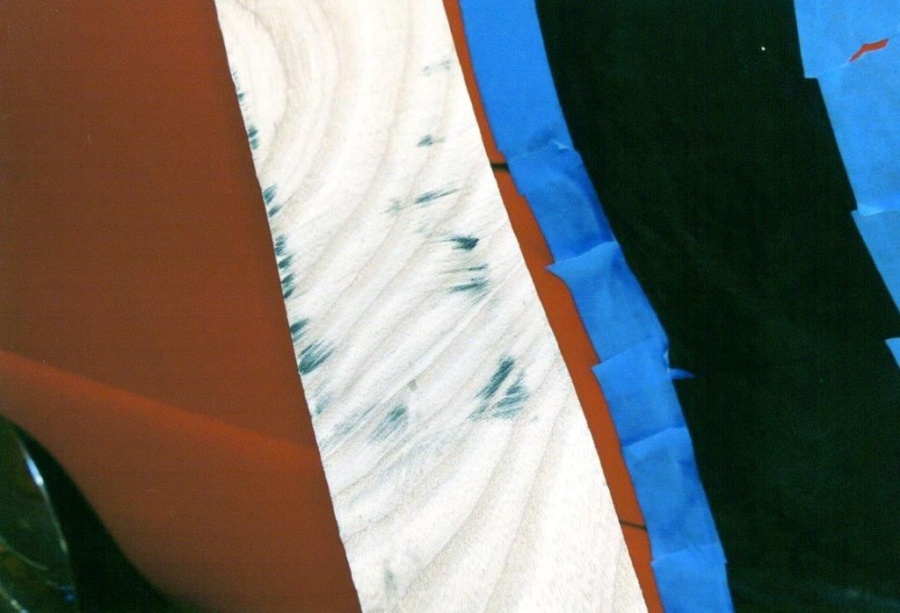
Once I received the wood pieces back from Mike, the long and tedious process of fitting each piece to the car began. I taped carbon paper to the car and rubbed the wood against it. I ground away the carbon marks until the wood matched the cars curves perfectly.
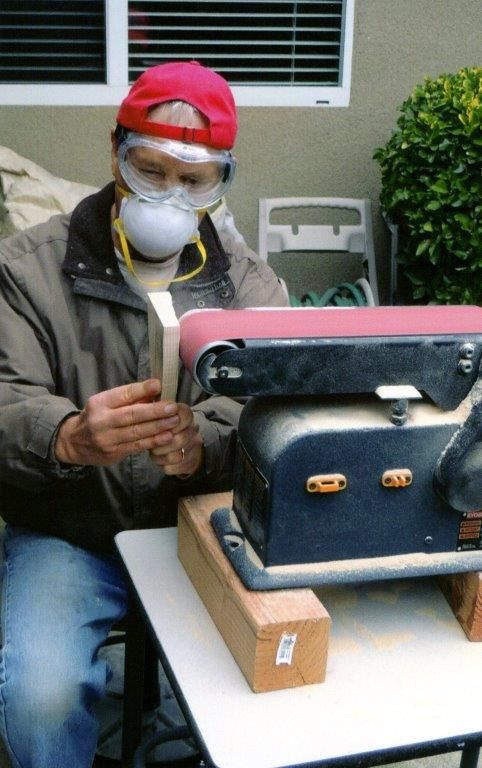
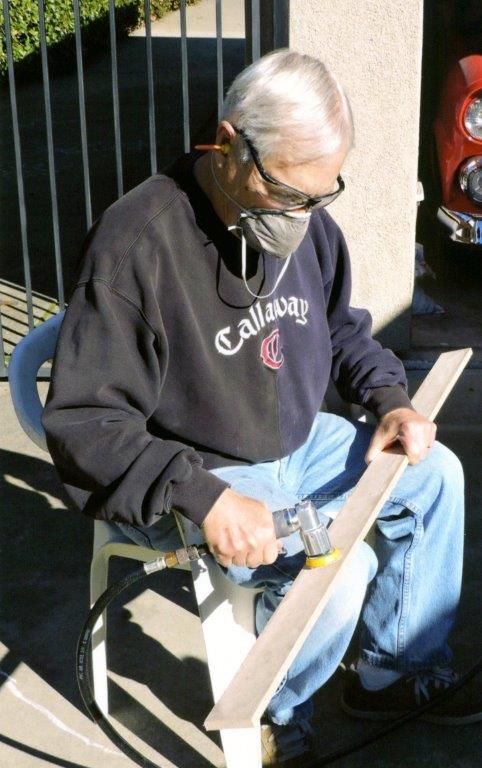
I now had 26 pieces of wood that conformed to the Ranch Wagons body. The next challenge was making all these pieces fit seamlessly together on the car. It was with Mike Williams’ invaluable assistance that we managed to bring all the pieces together, securing them in place with sheet metal screws. The screws were later replaced with Nutserts and snap on stainless steel caps.
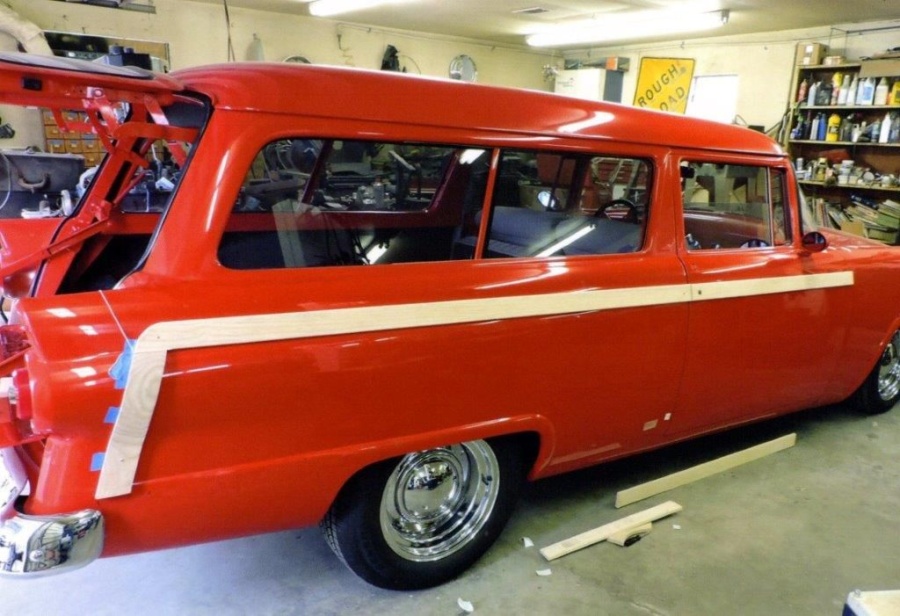
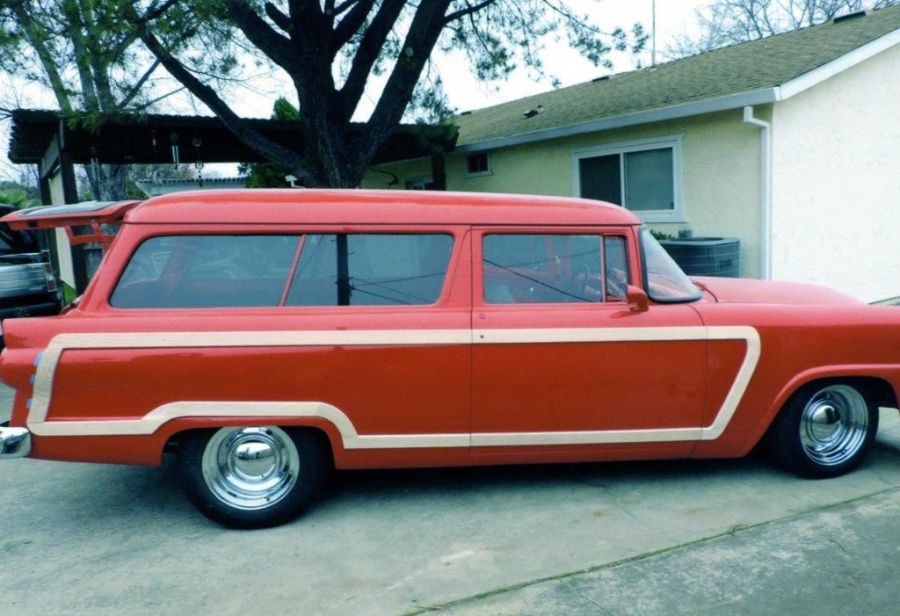
I then stained and varnished the wood. Patience was the key to ensure that my 1955 Ranch Wagon would truly resemble a 1952 Country Squire.
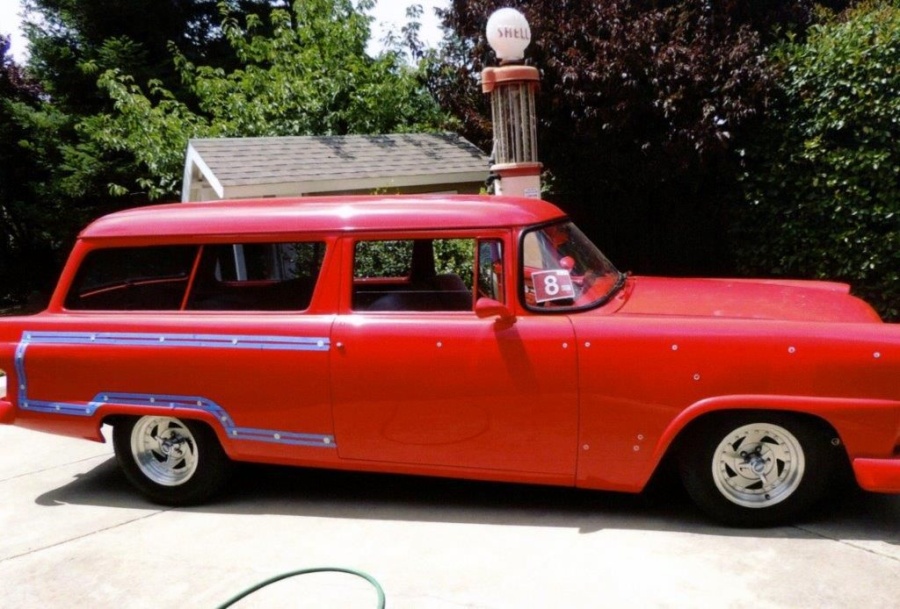
I picked a wood grain design for the panels which were done in vinyl. The wood was ash, the stain was amber, and the varnish was Epifanes.
To start the finishing process, you will need a dust-free area with good ventilation. Good lighting is needed so you can verify that the varnish has flowed out and covered evenly. I used my grandkids playhouse. I put blocks of wood under the wood pieces to keep them from sticking to the paint table. First, I put an amber colored stain on the wood. Next, I used foam brushes to apply Epifanes varnish. The first coat of varnish was thinned 20%. I put a total of 4 coats on. Also don’t start at one end of a piece of wood and try and go back to touch up where you started.
Would I undertake such a project again, the answer is “no”. It was a long and challenging endeavor, but I do feel a profound sense of accomplishment and satisfaction. Working on a car is a labor of love. My advice to fellow enthusiasts is to embrace the process and enjoy the ride.